So this is what the dreadknight concept art started out looking like, not too bad, i can deal with that right? Sadly this is what the model ended up looking like...
Not exactly the most streamlined of machines, personally i find it to be a bit of a mess, it feels disproportionate and a hodgepodge of smooth plate armour and weird supporting scaffolding, and then finally there's the baby terminator strapped to the chest.. such wasted potential.
Any way as some of you know, and as you can see in in the background of some of my previous pics I'm working on a grey knight army. In theory its meant to be ready for our clubs defence of the victorian club championships at the end of march..honestly whether that happens im not sure. As part of the initial list i had included a dreadknight, but after alot of play testing he's been dropped in lue of more psycannons and more rifledreds, if in doubt more guns right? Any way that said i still wanted to build one and build one right. So here's my take on what a dreadknight should actually look like.
As you can see i did my best to change up the static nature of the original model, and removed the silly baby marine and swapped in a dreadnaught style sarcophagus, also i removed the scafolding holding the arms on.
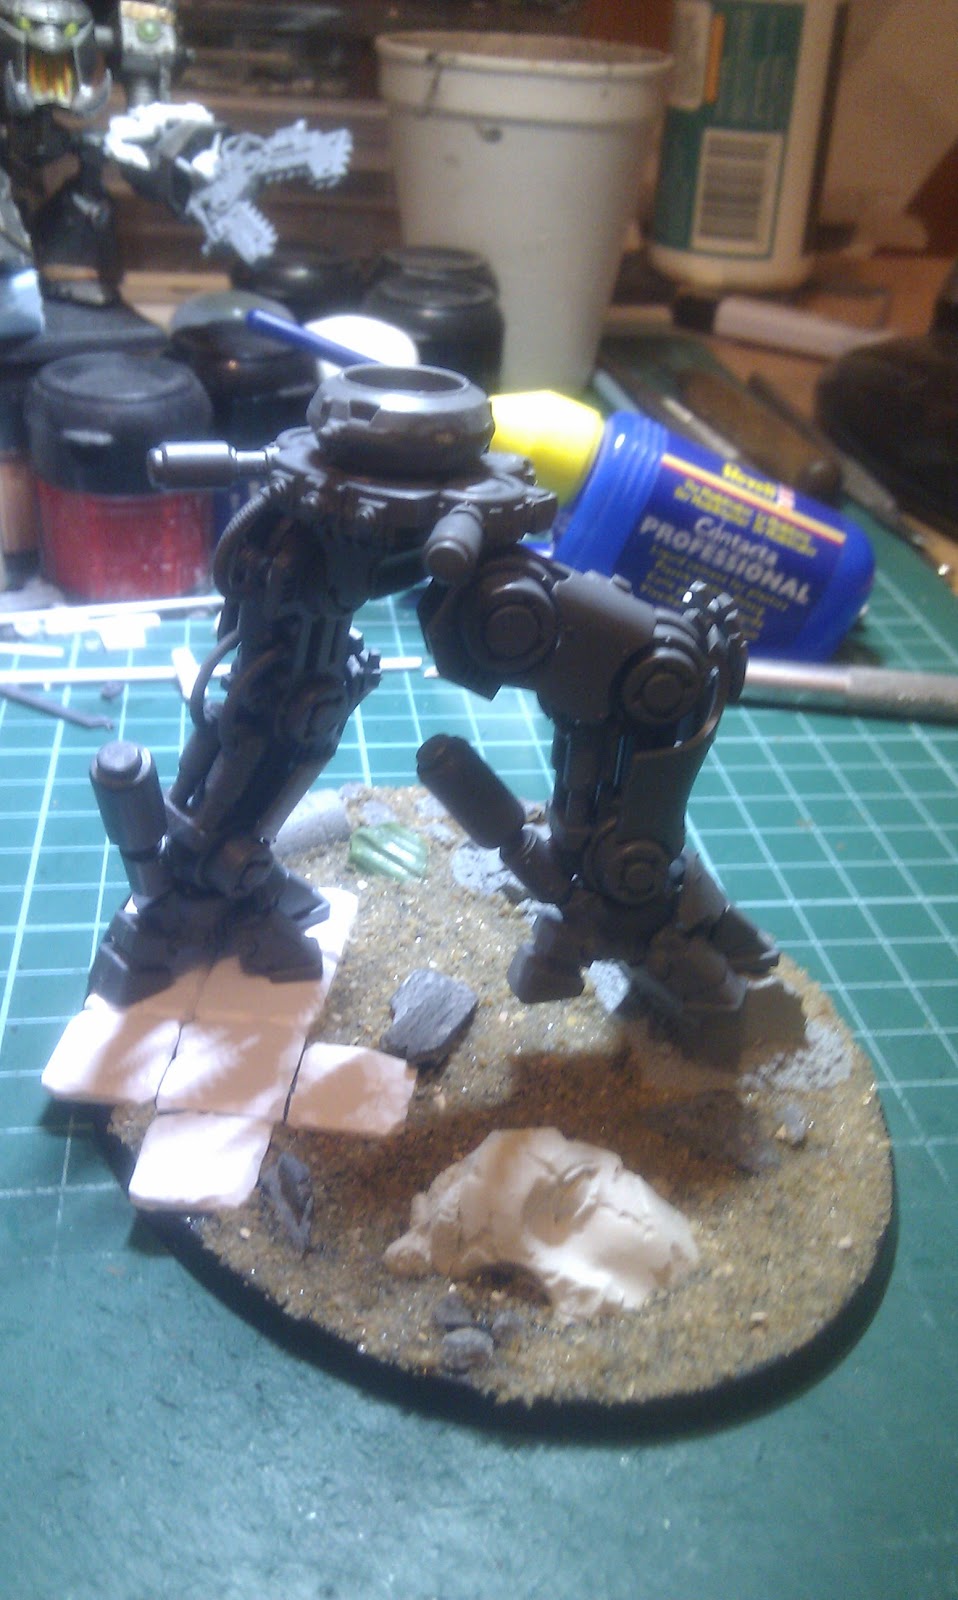
It was a fair bit of work and involved me staring at the sprue's for a fair few hours just visualising how everything fit together, in the end i worked out the easiest way to change up the static nature would be to rebuild one leg, and the hips entirely.
 |
| Both legs were originally straight like the one on the right. |
It looks simple, but it was only moderately complicated with the amount of different bits that linked up.
Next up to rebuild was the hip section, this didnt take too much to rebuild, mostly just cutting the areas that supported the terminator pilot off, But I also decided to raise the torso up at this point otherwise the model looked like the legs were too big for it. So to do this i found the round section that fit inbetween the guns of an aegis defence line quad autocannon, and attached that to the top of the hip section. To the front of that i added the front of the pilots harness as a kind of belt buckle area
 |
| The hip section facing right as you can see the aegis gun swivel just about doubles the height of the hips, and gives me an area to overhang with the sarcophagus without clipping the hips. |
After this the next part of the build was the main chest and torso sections. This had me wondering for a fair while how best to build the sarcophagus i wanted. I settled on the venerable dreadnaught sarcophagus front, with a greyknight terminator head, to make it work i had to insert the front half of a terminator torso behind the drednaught front plate, this spaced it out, and gave the head somewhere to sit. Around this the torso is mostly stock standard, though i shaved alot of the overhanging rounded parts off to smooth the front, leaving just the overhang above the head. After this I used plasticard to fill the gaps left between the drednaught front plate and the torso, cleaned that up with green stuff and added some purity seals to cover the unsightly bits.
 |
| This is what the front looked like before having the extra rounded bits shaved off. |
 |
| After being cleaned up. |
 |
| Adding in plasticard to cover the join, and green stuff to clean it up. |
 |
| The underside of the sarcophagus and some extra plasticard to smooth the bottom to join onto the hips. |
After this i built the arms, they were relatively easy, the right arm that's pointing firing the heavy incinerator only needed a slight straightening and is otherwise stock standard. The left arm's pose is stock standard, but since i wanted to arm the dreadknight with a sword and incinerator and wanted him firing the incinerator right handed, I had to equip the left hand with the sword, the sword comes built into a right hand so i figured the cleanest rebuild would be an assasins creed style shanking blade. I'd seen a few of these done using the weapon mounts on the wrist but these felt too bulky, so in the end i found the simplest and most elegant solution was simply cutting the sword down and fitting it under the forarm armour itself rather than over the top, pretty happy with how this came out.
 |
| Pretty simple conversion in the end, also it seems i built the arms before the hips according to this pic.. |
 | |
| The process! |
After all the parts were built it was a fairly simple matter to put it all together, but first i had to build the base, so i could work out how to attach the legs to make the stepping of the model seem fluid.
Turns out the base was huge, alot of space to fill, so this ended up having a combination of scibor resin ruined heads, dragon forge ruined pillars, some green stuff, slate and some plasticard carved to be scratched up tile work. I may or may not cover the base with water effects after its painted, leaving just the tiles up out of the water.
After this was built it was a simple matter to work out how to build the legs and hips to have him stepping up onto the ruins.
 |
| The join between right leg and hip is a bit precarious, I woudln't call it load bearing, lets put it that way |
|
|
Next up the rest of the model
 |
| Dreadknight ! |
 |
| Dreadknight rear |
There you have the finished dreadknight, pretty happy with how he turned out, especially the sarcophagus and how the raising the torso up gives that an area to overhang, and makes the model look more proportional. The shoulder sheilds got moved slightly since there was more area free in the centre torso, and after that its finished and ready to paint. Sadly since it wont be getting fielded in my VICC army its been bumped for other grey knights. But since i like him i think he wont be far off getting painted.


Love the conversion mate looking grand!
ReplyDeletethanks champ! sadly its way down the list on painting, but the rest of the GK's are getting a speed paint job now
ReplyDelete